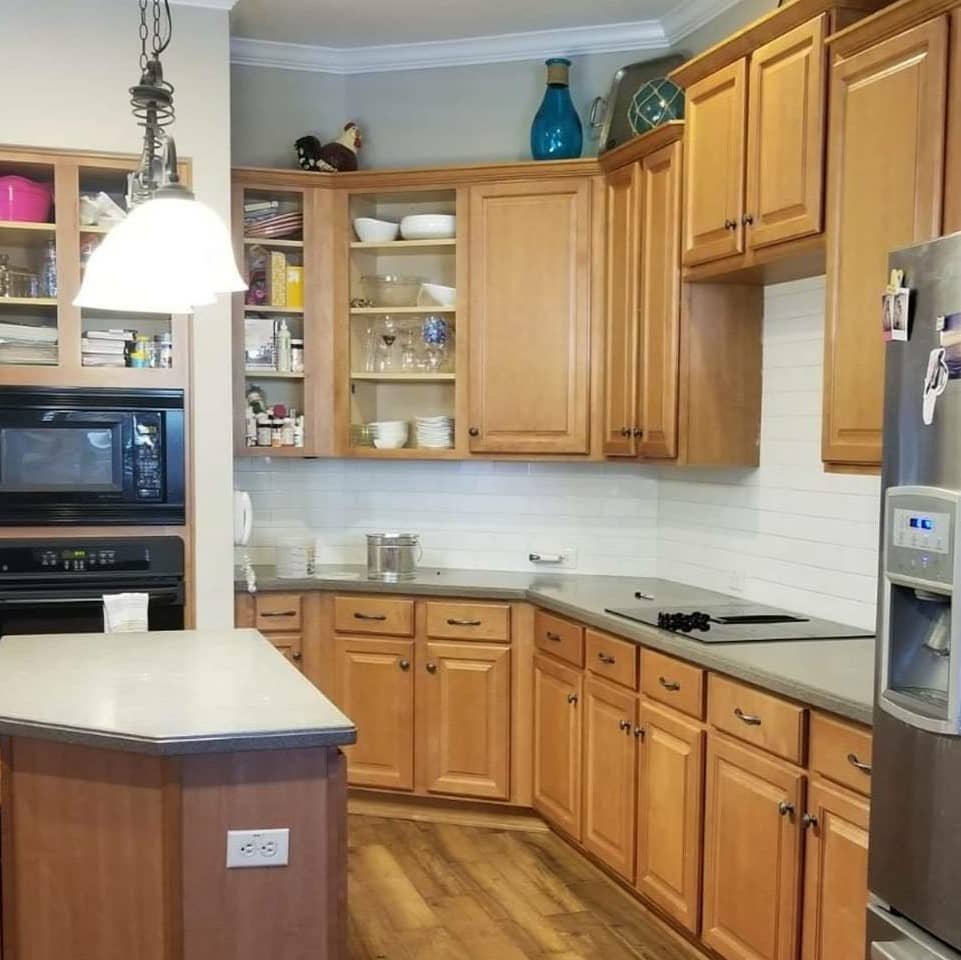
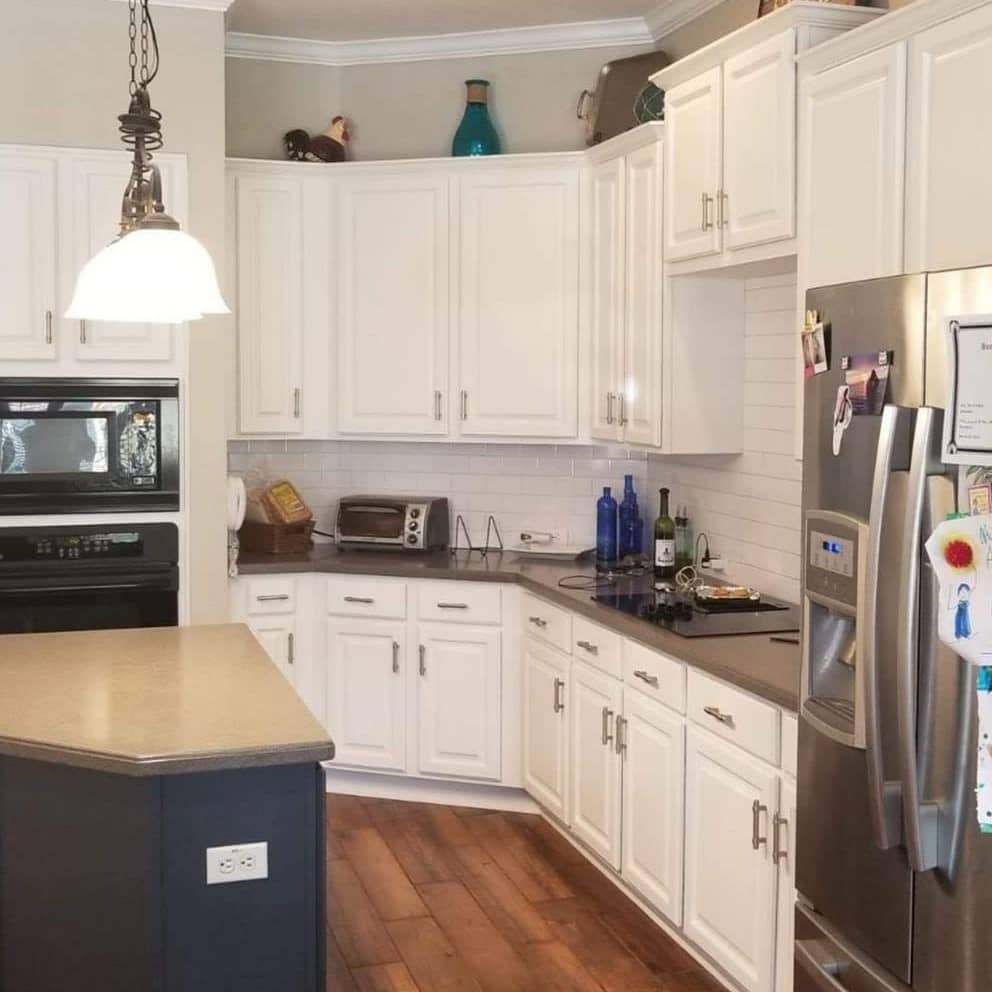
How To Paint Kitchen Cabinets
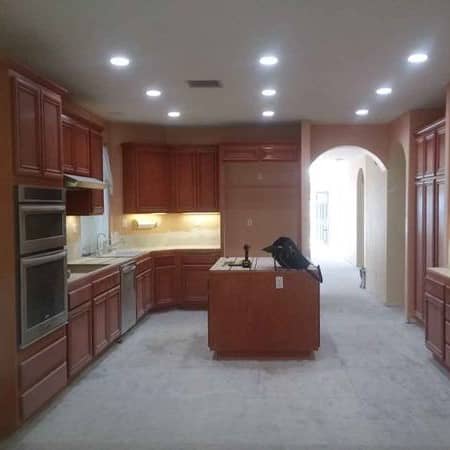
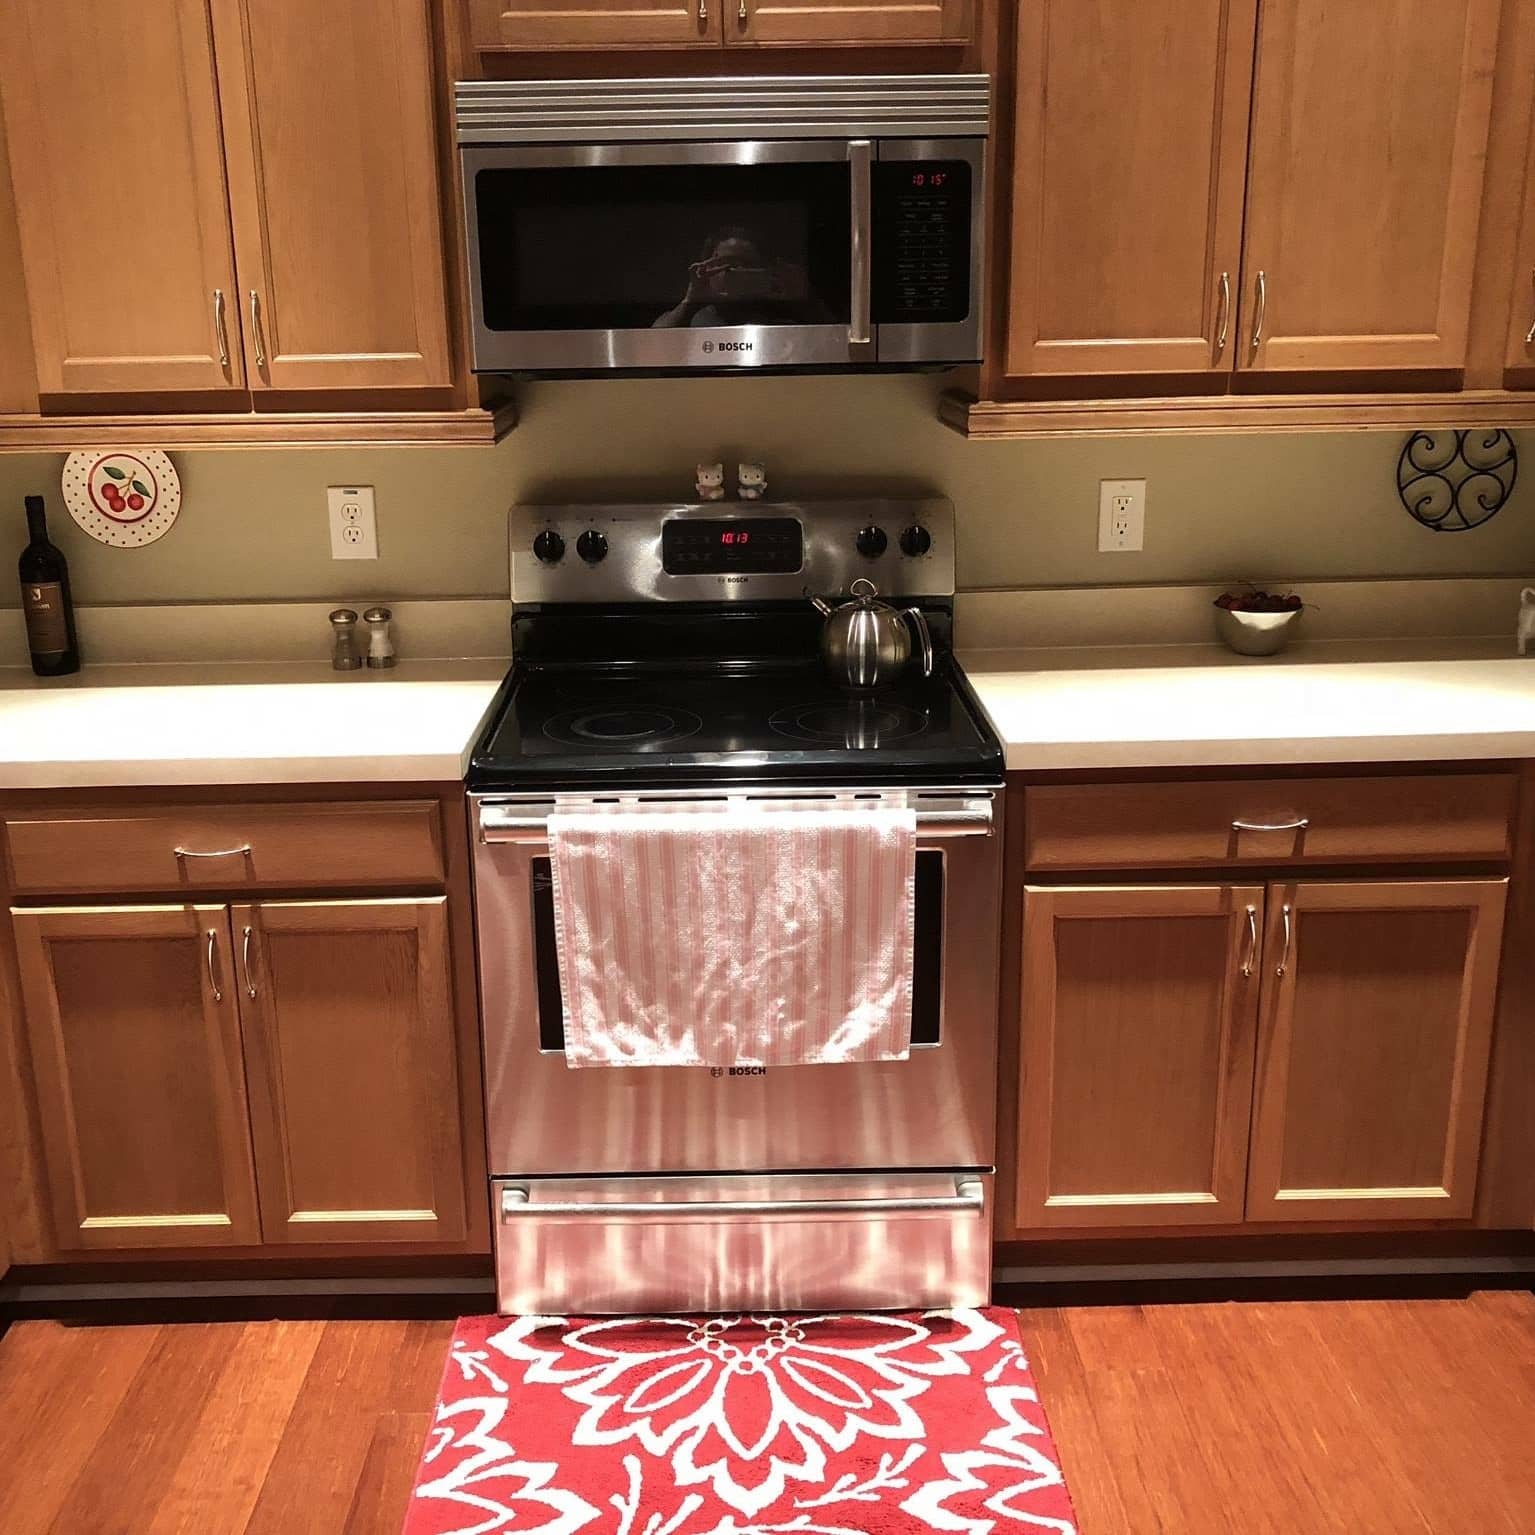
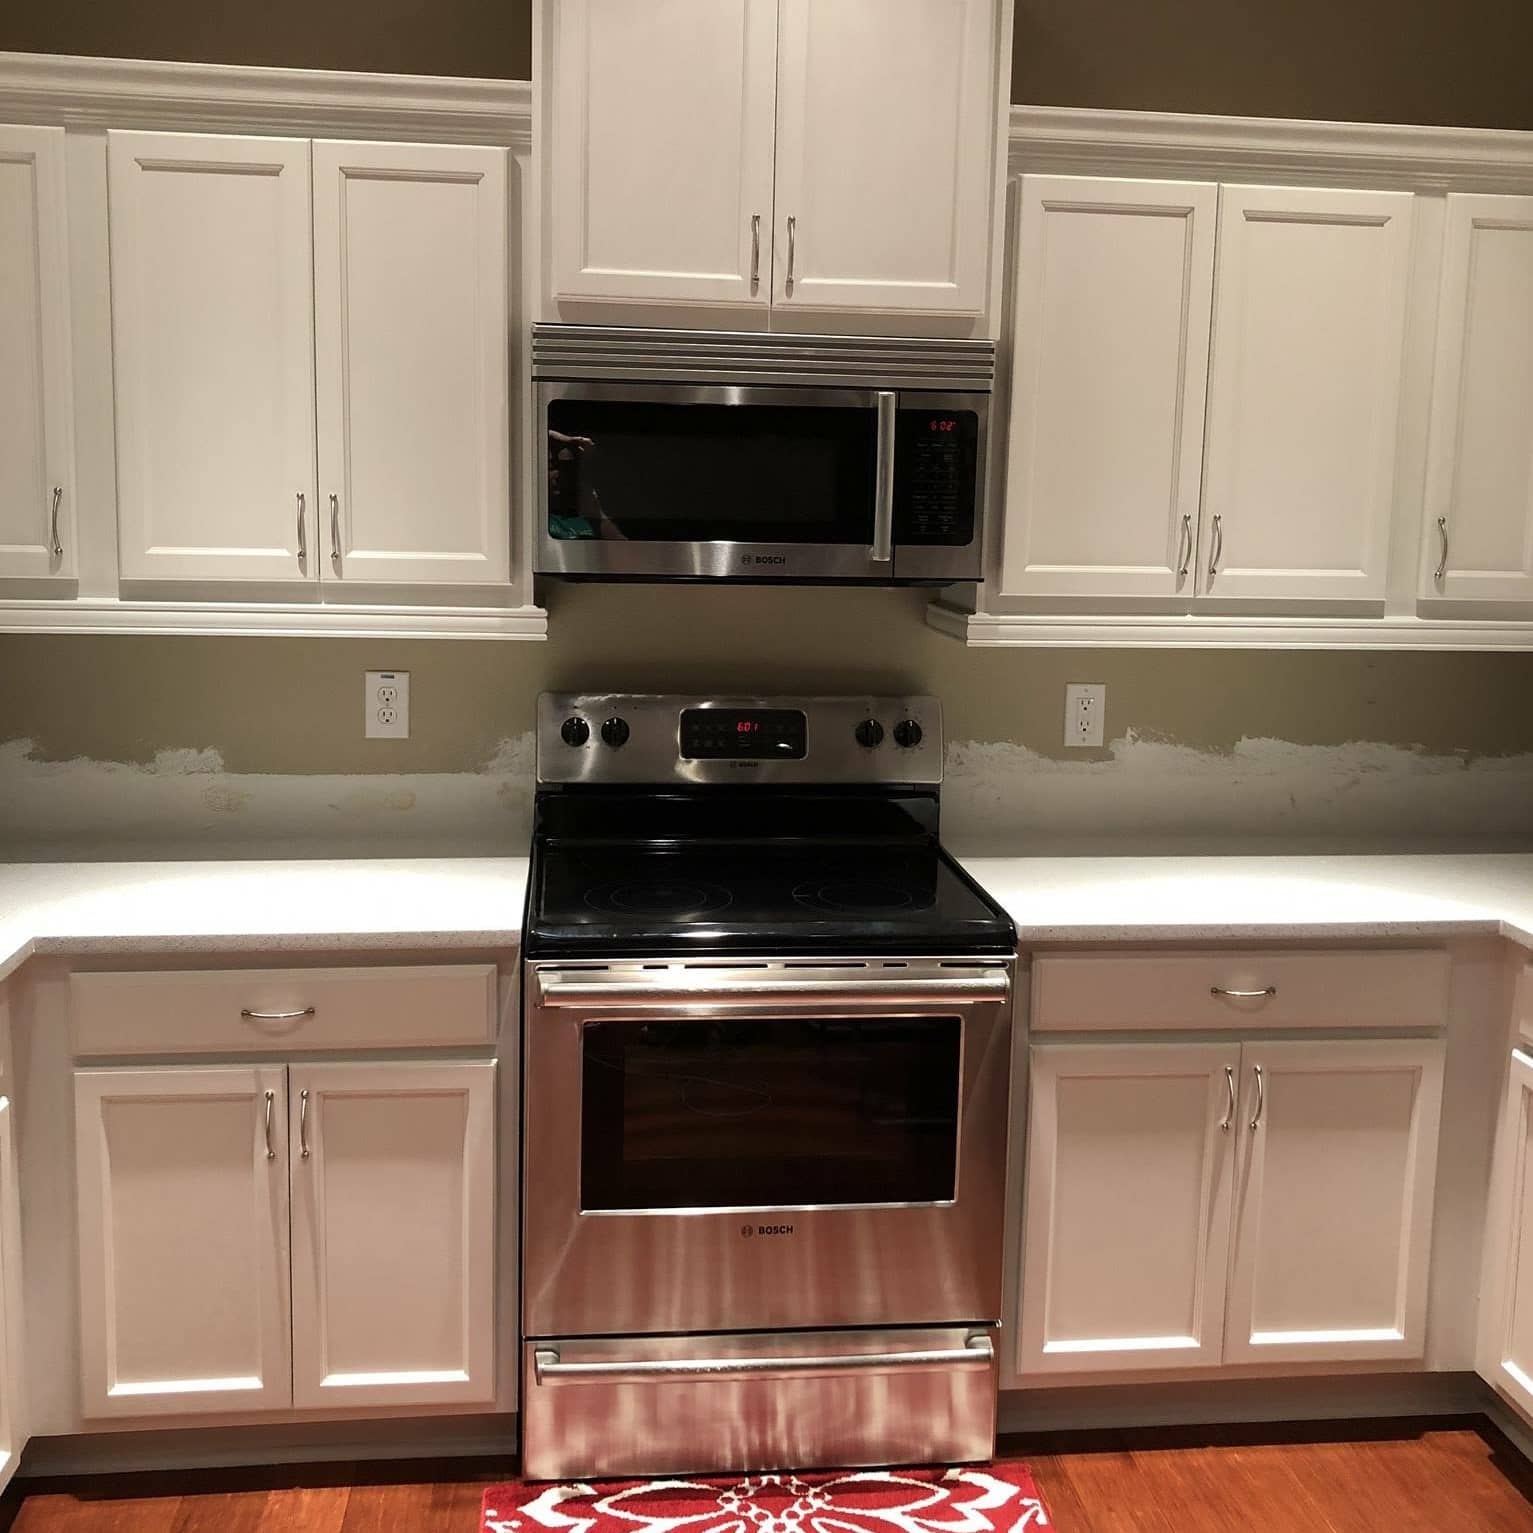
Getting brand new, custom made kitchen cabinets can cost well over $10,000. However, taking the existing cabinets in your kitchen or even bathroom and giving them a new look with a fresh coat of paint is a much more affordable way to completely change the look of your kitchen. It is a very labor-intensive project with lots of challenges, but that's something we're used to! Here's how we operate when we paint cabinets:
-
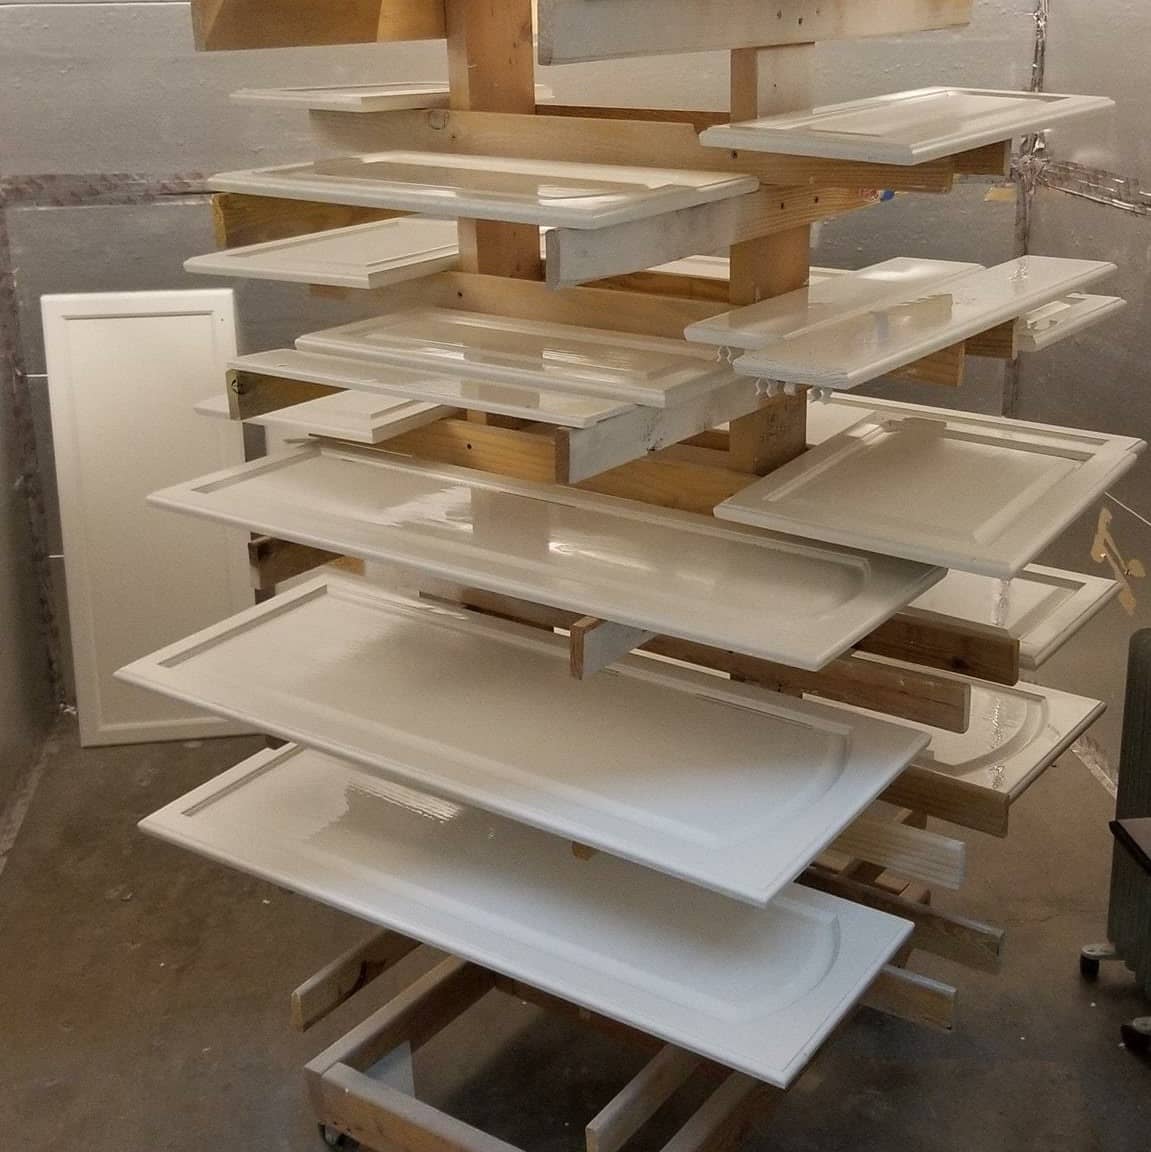
Remove Doors & Hardware: The first step in any cabinet painting project is to remove the cabinet doors and its hardware such as knobs and hinges. Then you'll want to clear out a flat space in which to operate and paint. A flat surface to paint is crucial to getting an even coat and making sure the paint dries smoothly.
-
Prep Your Cabinets: The most important aspect to painting cabinets is to make sure your cabinets are clean and dry. Now that you have taken the time to wipe them down and dry, now we get to rough them up! Cabinets are generally very smooth and not an ideal surface for paint to stick to, so we take a medium grit sandpaper and sand down the surface a bit, but not enough to sand away any finish you have on your cabinet. Then once again, we wipe the dust with a wet sponge or cloth and let it dry.
-
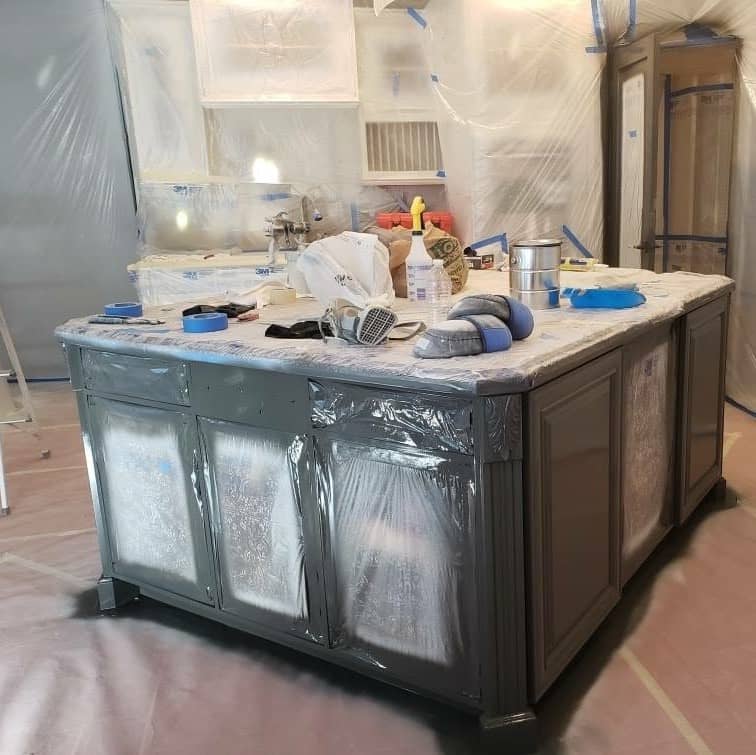
Lay Protective Gear: You don't want to get paint on anything else in the room like appliances or the floor, so we painstakingly tape everything off with cardboard paper on the floor and plastic sheets covering counter tops and appliances.
-
Time To Prime: First we need to make sure we know what your cabinets are made of. There are different primers to use for different surfaces. Wood and laminate surfaces require their own special primer. Once the primer is on, we have to wait at least 24 hours before moving on with the next steps.
-
Sand The Surfaces Again: Once everything is dried, we take fine grit sandpaper and lightly sand the surfaces once more, focusing particularly on areas that may have paint drips like the inside of corners or cabinet trim rests on the cabinet. It has to be sanded perfectly smooth for the paint to adhere to it evenly. Then, we again wipe it down with a damp cloth or sponge to remove excess dust and let it dry.
-
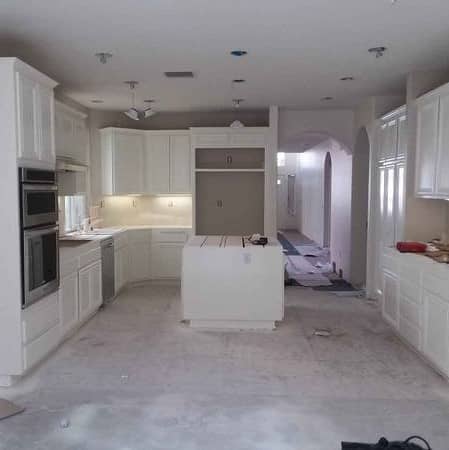
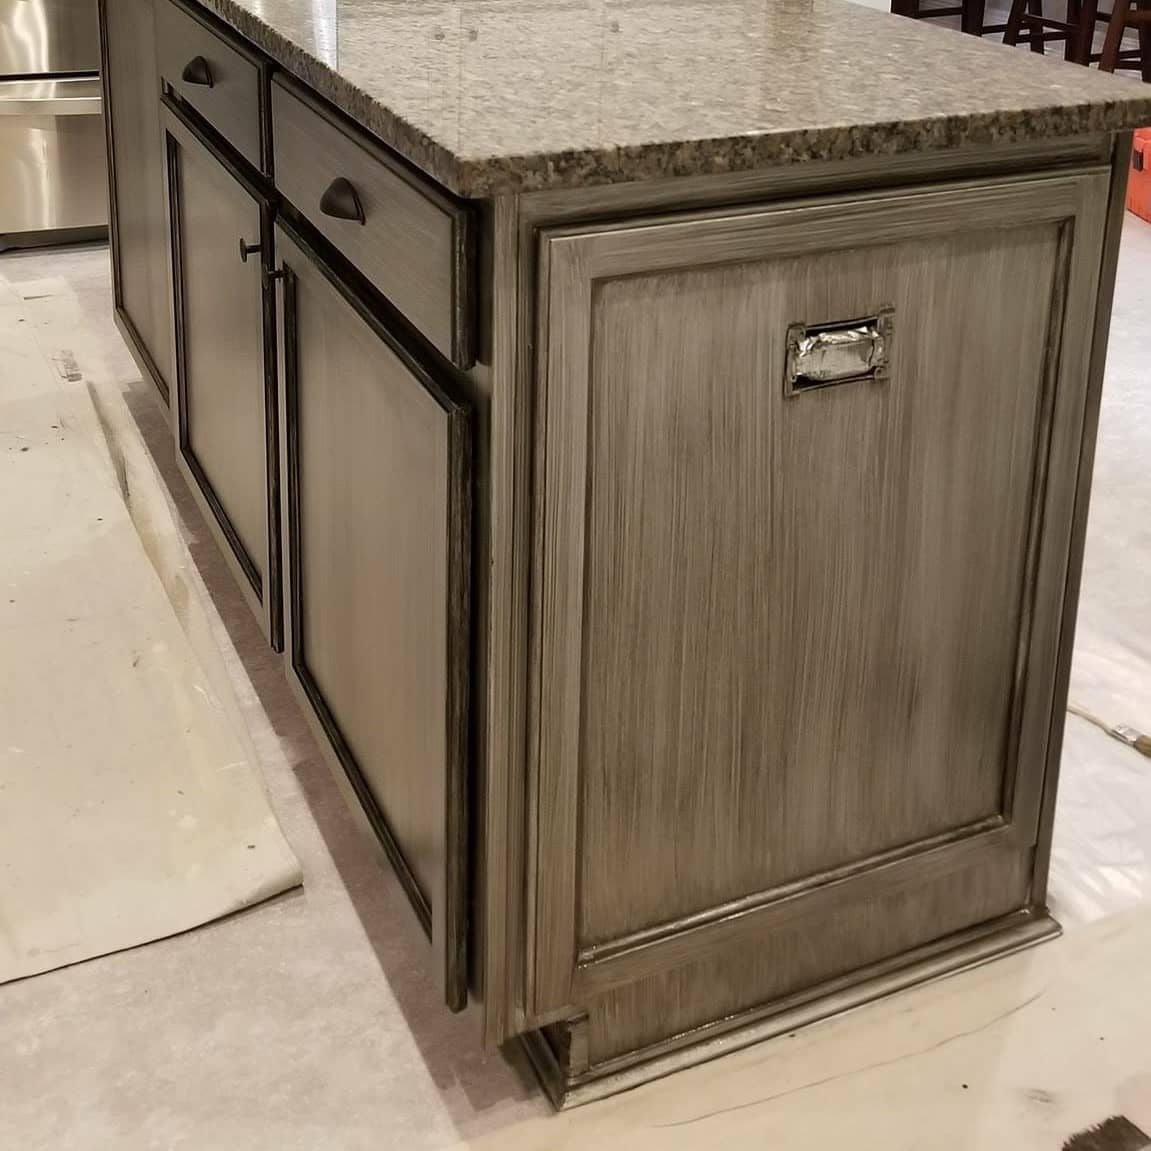
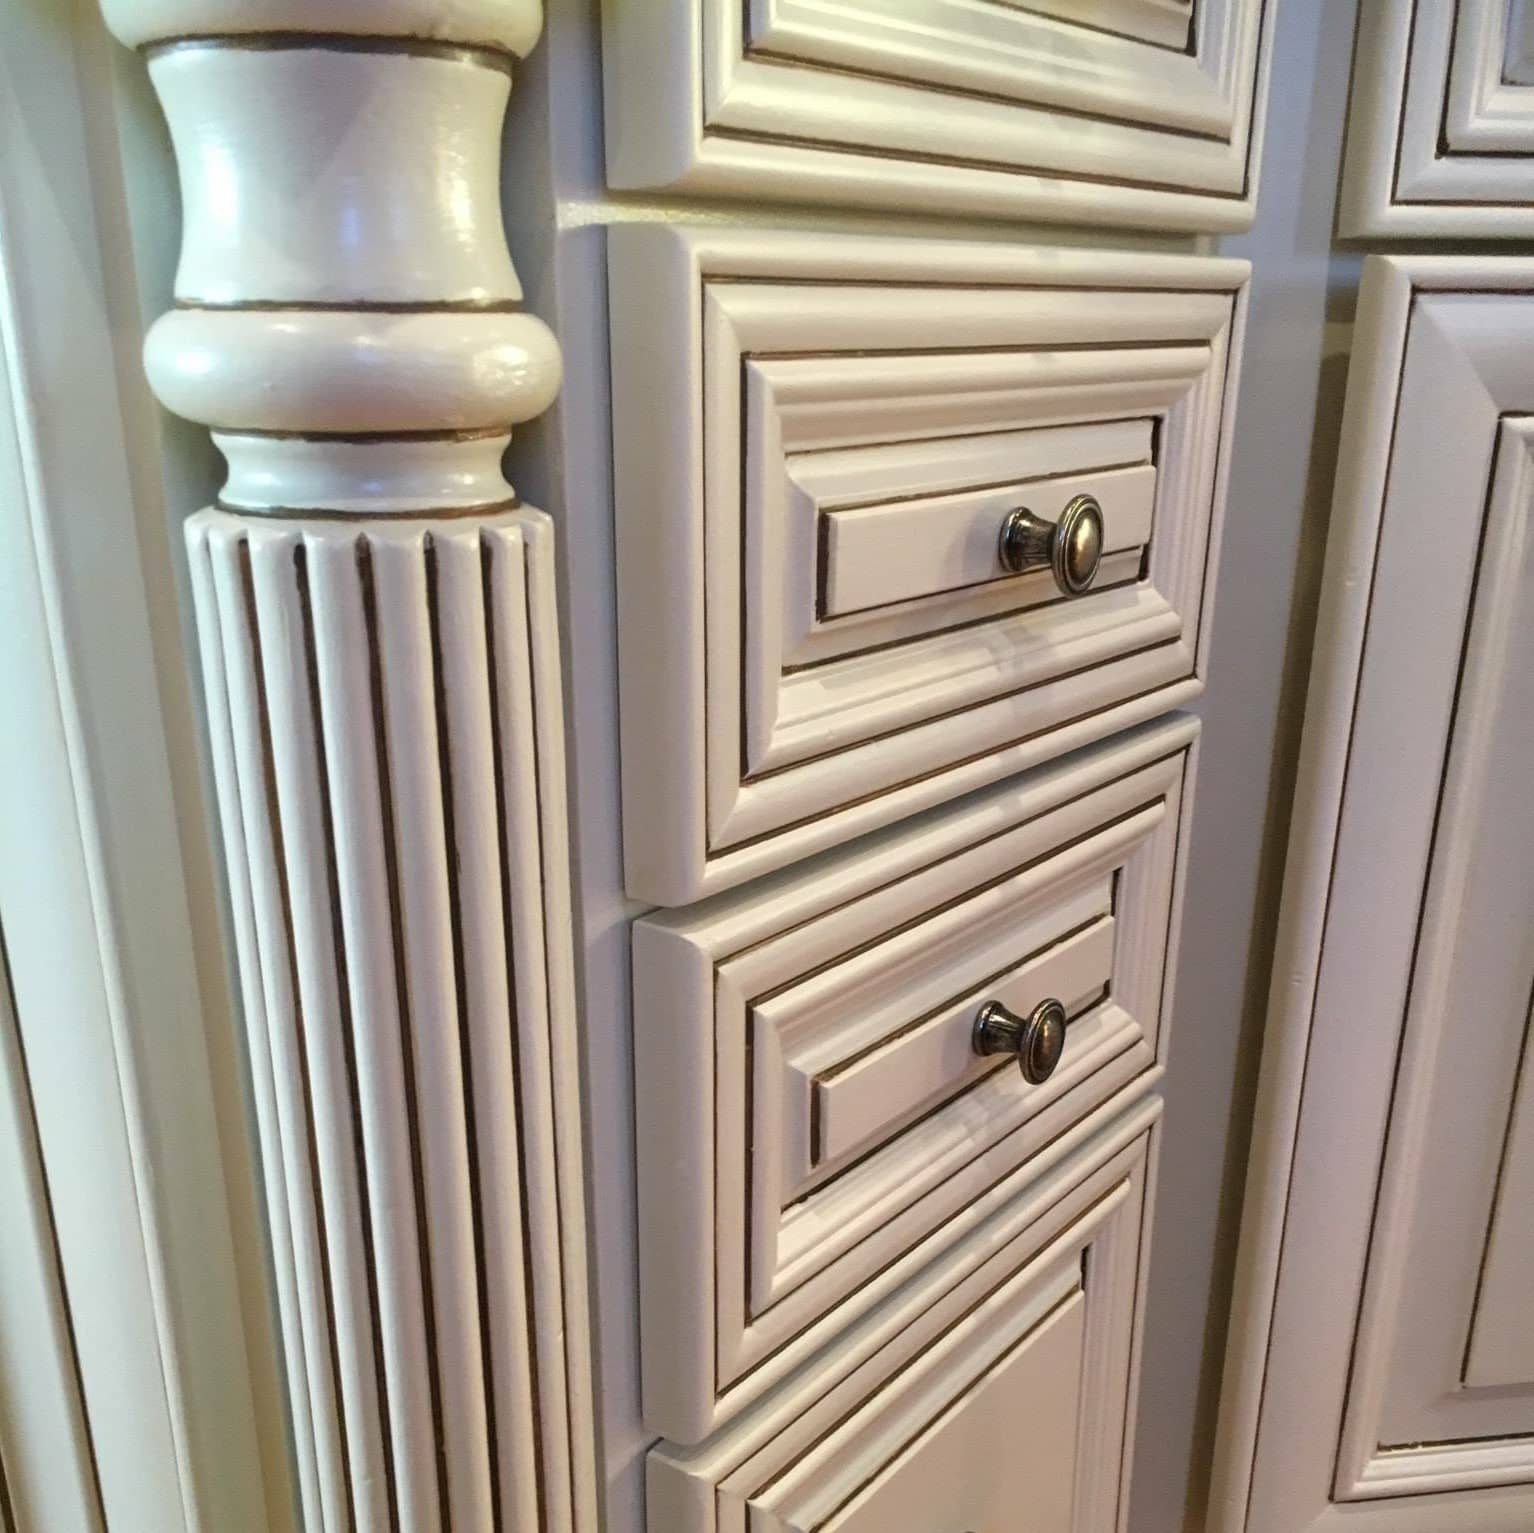
Painting The Cabinets: It will go by a lot faster with a sprayer, but if you want to use a brush we recommend a nylon or polyester brush and use even brush strokes. There's also special paint meant for cabinets, so make sure you or your contractor have the right paint. Then we lightly sand and paint it again.
-
Let It Dry: The minimum time required for cabinet paint to dry is 24 hours, but sometimes we like to have it dry for up to 3 days. The longer you allow the paint to dry the more lasting and stable the finish will be
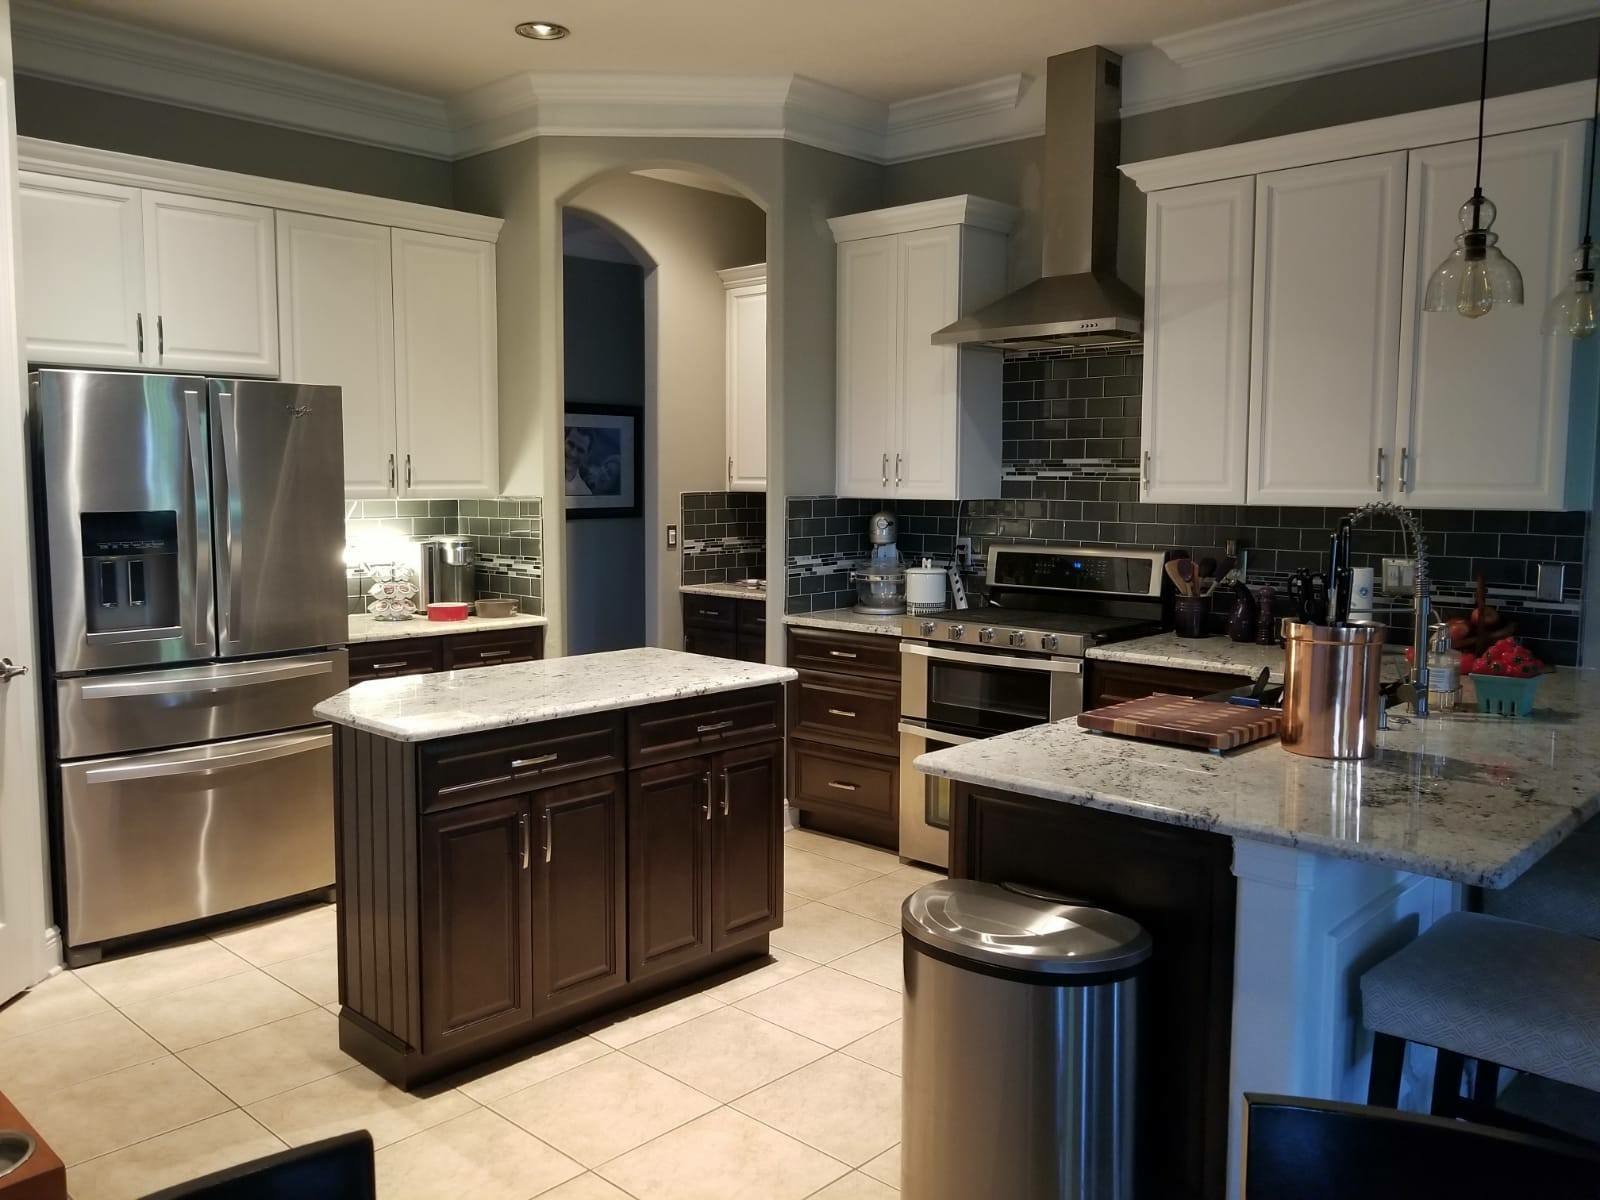
Hiring A Cabinet Painting Contractor
Painting your cabinets is a huge undertaking and there are a lot of chances for something to go wrong. While we always like to champion do-it-yourself-ers, for peace of mind, hiring a painting contractor will save you time and headaches. Color Concepts Painting hires only the most skilled workers to handle cabinets, some of our guys being with us for years. So let our expertise work for you and give you the kitchen or bathroom you always dreamed of!